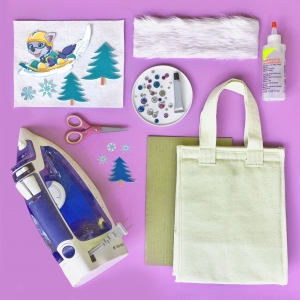
What You’ll Need:
- Insulated Lunch Tote
- Iron-on Transfer Paper
- White Wool Felt
- Fabri-tac Glue
- E6000 Glue
- Rhinestones
- White Faux fur (we actually used the trim off a Santa hat!)
- Scissors
- Iron
- Piece of Cardboard
- Everest Winter Scene Template
- Inkjet Printer
How-to:
- Cut a piece of cardboard to fit inside bag. Insert into lunch bag in front of gusset.
- With an inkjet printer, print Everest Winter Scene Template out on Iron-on Transfer paper
- Carefully cut out each graphic (Everest, three trees and five snowflakes) with scissors.
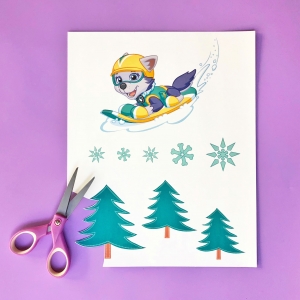
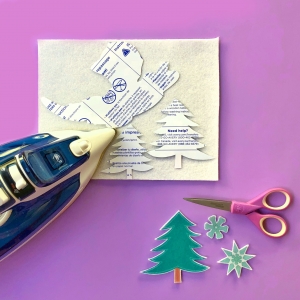
- Following instructions on Transfer paper’s package, place the two larger trees, two largest snowflakes and Everest graphic face down on a piece of white wool felt. Iron over the transfers, keeping the iron in motion as to not burn fabric, pressing down firmly. Let cool.
- Peel off paper backing from transfer. With scissors, carefully cut around each graphic on felt.
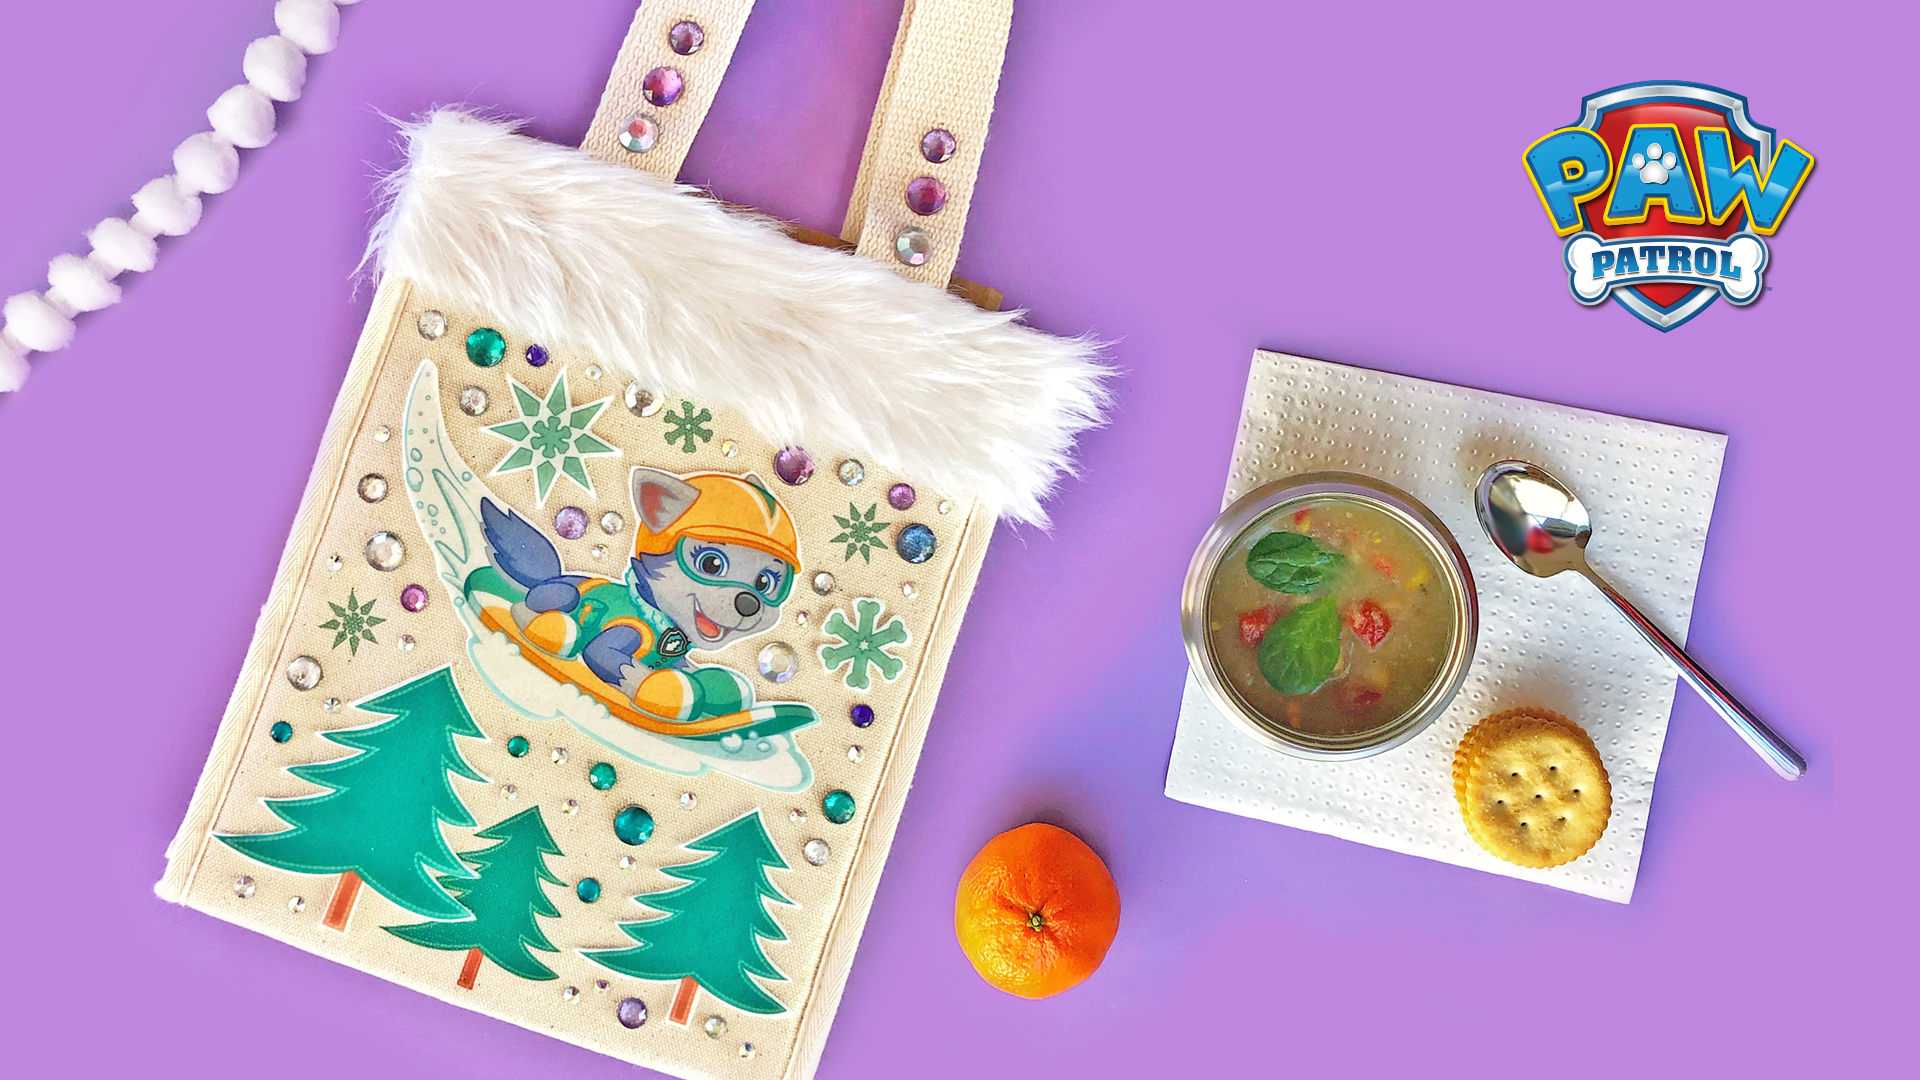
- Measure and cut faux fur to fit nicely across the top edge of bag, about 2” wide. With Fabri-Tac glue, attach trim to bag.
- Lay out all the Everest Winter Scene graphics on front of bag for placement. Remove felt-backed graphics and set aside. Carefully flip over transfers and iron in place. To avoid melting the insulation inside bag, do not over iron. Let cool and peel off paper backing.
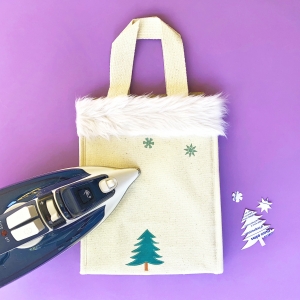
- With Fabri-tac, glue on felt-backed graphics to lunch bag.
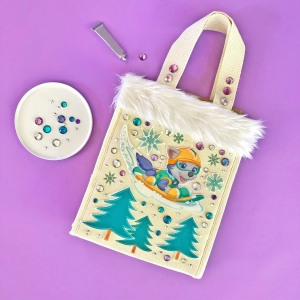
- Using E6000 glue, carefully glue on a variety of rhinestones to bag. Jazz up the handles with a few jewels too. Let set for 24 hours before use.
- Pack a homemade warm lunch in your new handmade lunch bag!
Watch more Nick Jr.! View the TV schedule here.


